In short: mixing means balancing every track of a song — levels, panning, EQ, compression, effects — to get a clear stereo file where every element has its place. Mastering comes afterwards, on that final file.
You've recorded or produced all your tracks: vocals, beat, bass, synths. Yet once they play together, nothing really stands out: the vocal gets buried, the low end spills over, everything feels flat. That's exactly what mixing is for. This guide gives you a simple method that works in any DAW.
What is audio mixing?
Mixing is the stage where the separate tracks of a song are combined into a stereo file. You set each element's level, its place in the space (left, right, front, back) and its tone, so the whole is clear and cohesive.
| Mixing | Mastering | |
|---|---|---|
| What you process | Each track separately | The final stereo file |
| Goal | Balance the elements against each other | Make the song release-ready |
| Tools | Faders, panning, EQ, compression, effects | Light EQ, compression, limiter |
| Order | First | Then |
What you need to mix
- A DAW: GarageBand (free on Mac), FL Studio, Ableton Live, Logic Pro, Reaper… The built-in tools are enough to mix well
- Studio headphones or monitor speakers: ideally, check on both
- A room that's as quiet as possible: bare walls and corners distort how you hear the low end
- Reference tracks in the same genre, to compare against
The steps of mixing
1. Organize the session
Name and color your tracks, group them by family (drums, bass, vocals, instruments) and delete what you don't need. A clear session saves a huge amount of time.
2. Set input levels (gain staging)
Before touching the faders, adjust each track's gain so its peaks stay reasonable, around -10 dBFS. That leaves headroom for processing and keeps the master bus from clipping.
3. Balance the levels
This is the most important step. Start with the main element (often the vocal, or the kick in electronic music), then bring the other tracks up around it. Many good mixes are already there at this stage, before a single plugin.
4. Panning
Keep what carries the song in the center: kick, bass, snare, lead vocal. Spread secondary elements (guitars, synths, backing vocals, percussion) left and right to free up the center.
5. EQ
Cut before you boost. A high-pass filter on every track that doesn't need low end (vocals, guitars, hi-hats) cleans up the mix enormously. Then carve space: if the bass and kick fight over the same frequencies, gently reduce one where the other is strongest. More in our audio EQ guide.
6. Compression
Compression controls a track's level swings. On a vocal it makes it steadier and more present; on drums it can add punch. Start gently (2:1 to 4:1 ratio, 3 to 6 dB of reduction) and listen to whether transients still sound natural. See our audio compression guide.
7. Effects: reverb and delay
Use them on effect buses (sends) rather than directly on each track: a shared reverb gives a coherent sense of space. Filter the low end out of your reverbs so they don't muddy the bottom of the spectrum.
8. Automation
A living mix moves: raise the vocal on a word that gets lost, lower a guitar during a verse, open a filter before the chorus. Automation handles what a fixed setting can't.
9. Check
Compare with a reference track at matched loudness, listen in mono, then on several systems: headphones, speakers, phone, car. Take breaks: after an hour your ears adapt and stop judging objectively.
10. Export for mastering
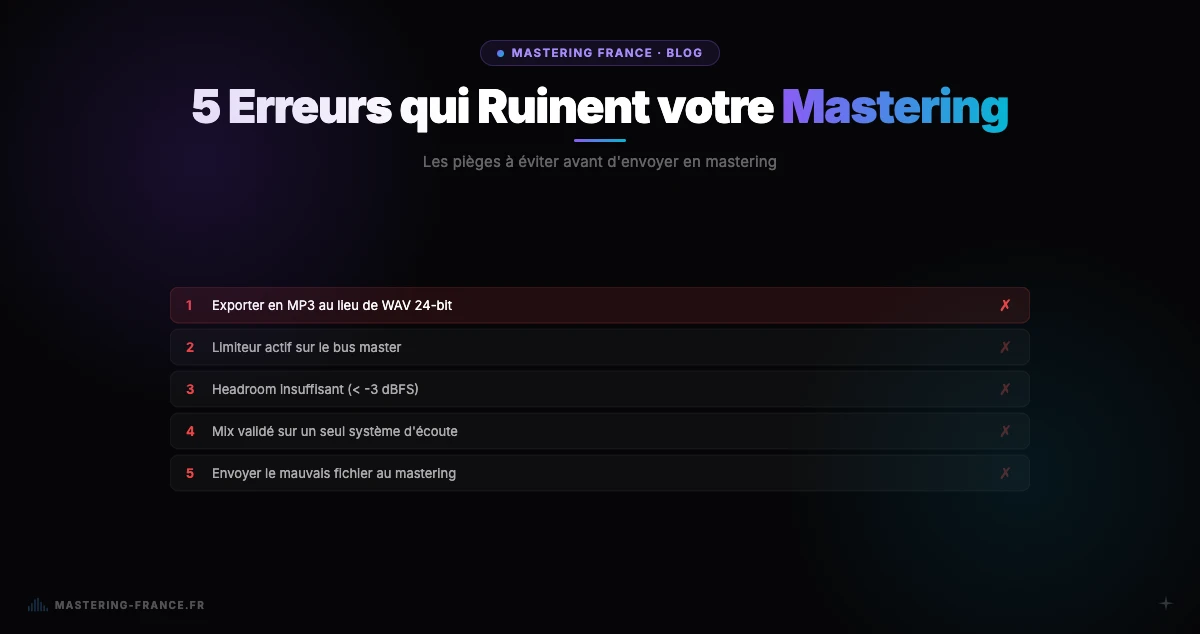
Export a 24-bit WAV with no limiter on the master bus and peaks between -6 and -4 dBFS. That's the ideal file to send for mastering.
Starting settings by instrument
These values are starting points, to adjust by ear for each song.
| Track | High-pass filter | Compression | Panning |
|---|---|---|---|
| Lead vocal | 80–100 Hz | 3:1, 4 to 6 dB of reduction | Center |
| Kick | None (or below 30 Hz) | 4:1, slow attack to keep the click | Center |
| Bass / 808 | Below 30 Hz | 3:1, steady | Center (low end in mono) |
| Snare | 80–100 Hz | 4:1 | Center |
| Guitars, synths | 100–200 Hz | 2:1, light | Left / right |
| Hi-hats, percussion | 300–500 Hz | Often none | Slightly off-center |
| Backing vocals | 150–200 Hz | 3:1 | Wide |
The most common mistakes
- Pushing every fader up until the master bus clips
- Boosting EQ everywhere instead of cutting what gets in the way
- Too much reverb: the mix turns blurry
- Leaving the low end in stereo: it disappears on a phone or a PA
- Mixing too long without a break, or on a single system
- Putting a limiter on the master bus before sending to mastering
They're covered in detail, with fixes, in our article on 10 mixing and mastering mistakes.
Mixing and mastering: what comes next
Once the mix is done, mastering takes over: it balances the song as a whole and sets its loudness for Spotify, YouTube and other platforms. To do it yourself, follow our mastering for beginners guide; to hand it to an AI, see our online mastering, with a free preview. Mastering France doesn't mix your tracks: it masters a finished mix.